Docker Setup Guide
Docker Installation and Configuration
Windows
- Download Docker Desktop from the official Docker site.
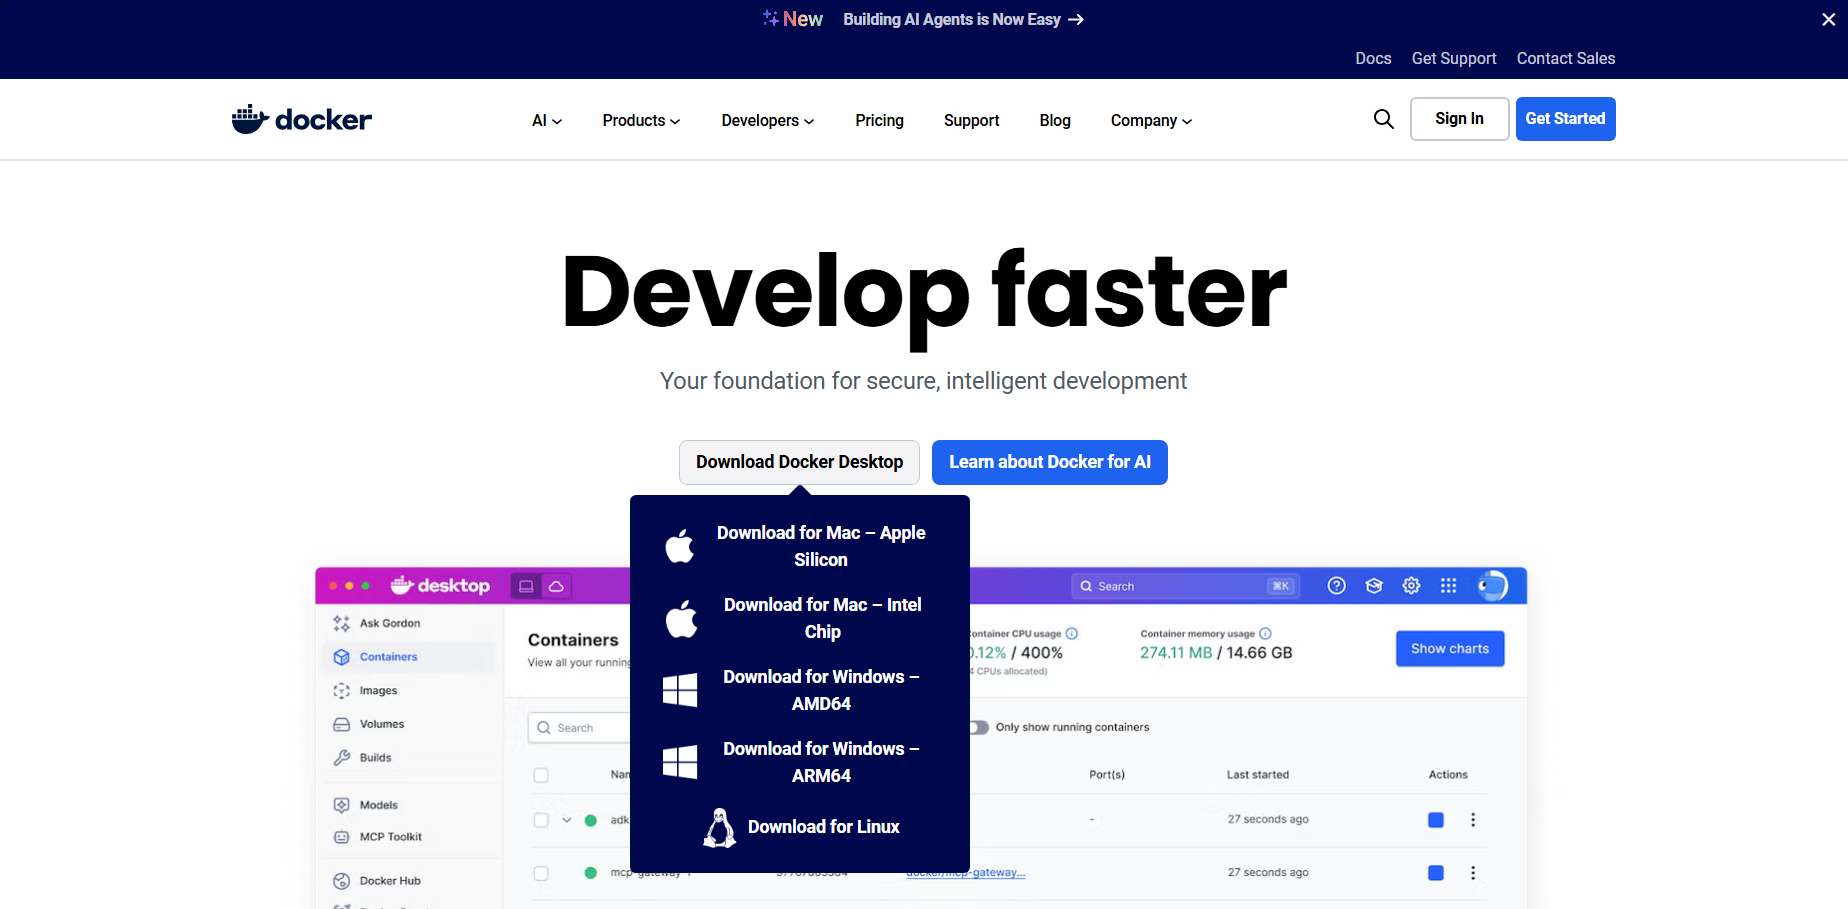
- Run the installer and follow the on-screen instructions.
- Once installed, open Docker Desktop and make sure it is running.
At this point, you might need to enable or install WSL (Windows Subsystem for Linux) for Docker to work properly. Follow the instructions in the official Docker documentation to enable WSL.
- To verify Docker is installed correctly, open Docker Desktop and run the following command in your terminal:
docker --version
Linux (Ubuntu)
Follow the official Docker installation guide on Ubuntu to install Docker on your system.
Deploying a React Application in Docker
To keep the example simple, we will use a basic React application consuming an API. Below are the steps to deploy this application using Docker.
Frontend - Creating the Dockerfile
Create a file named Dockerfile in the root of your React project with the following content:
# Stage 1: Build
FROM node:22-alpine AS builder
WORKDIR /app
COPY . .
RUN npm install
RUN npm run build

# Stage 2: Serve with Nginx (reverse proxy)
FROM nginx:alpine
COPY --from=builder /app/dist /usr/share/nginx/html
COPY ./nginx.conf /etc/nginx/conf.d/default.conf
EXPOSE 80
CMD ["nginx", "-g", "daemon off;"]
Since we propose using Nginx, create a configuration file named nginx.conf in the root of your React project with the following content:
server {
  listen 80;
  server_name localhost;

  root /usr/share/nginx/html;
  index index.html;

  location / {
    try_files $uri /index.html;
  }
}
This configures Nginx to serve your React app and handle routes correctly; otherwise, accessing non-static file routes might redirect to a 404 page.
If you use a basepath in your React application, make sure to adjust Nginx configuration as follows:
server {
  listen 80;
  server_name localhost;

  root /usr/share/nginx/html;
  index index.html;

  absolute_redirect off;

  location /dmi {
    try_files $uri $uri/ /dmi/index.html;
  }

}
# Stage 1: Build
FROM node:22-alpine AS builder
WORKDIR /app
COPY . .
RUN npm install
RUN npm run build

# Stage 2: Serve with Nginx (reverse proxy)
FROM nginx:alpine
COPY --from=builder /app/dist /usr/share/nginx/html/dmi # Adjust based on your basepath, in this case /dmi
COPY ./nginx.conf /etc/nginx/conf.d/default.conf
EXPOSE 80
CMD ["nginx", "-g", "daemon off;"]
Building Images using docker-compose
Create a file named docker-compose.yml in the root of your project with the following content:
services:
  frontend:
    build:
      context: .
      dockerfile: Dockerfile
    container_name: react-frontend
    ports:
      - "3001:80"
In this docker-compose.yml file, a single service is defined, although you can expand it with more services if your application requires it.
Building and Running Containers
- Make sure Docker and Docker Compose are installed and running properly.
- Open a terminal and navigate to the directory containing your
docker-compose.ymlfile. - Run the following command to build and start the containers:
docker compose up --build
This will build your application images and spin up the containers defined in the docker-compose.yml file.
- Once containers are running, you can access your React application at
http://localhost:3001.